Below we show you thirteen tricks and tips that will allow you to squeeze the most out of the camera traps of your preserve. Thanks to them you will have irrefutable evidence of how many animals inhabit your land, their size, their schedules...
1. Update your Firmware

Cameras, like any electronic device, use software that controls their correct operation: firmware. Sometimes their developers discover bugs after they have been released on the market, which is why they publish updates to fix them. It's a simple process that can avoid a lot of headaches before installing your cameras in the field. Periodically check the manufacturer's website to check for available updates.
2. Number each camera and SD card
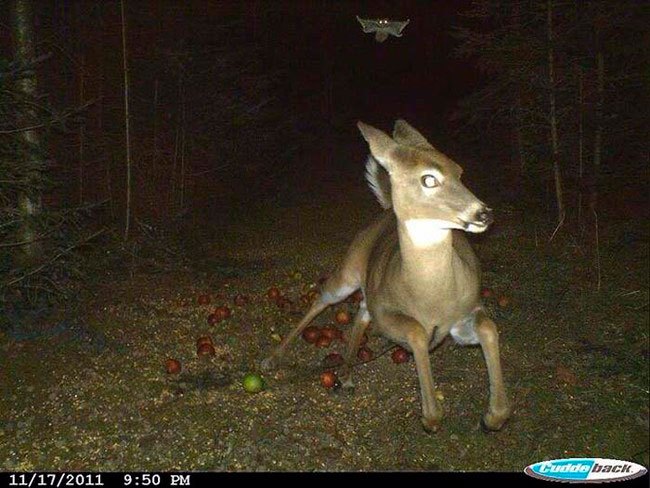
This tip is particularly useful if you're going to place more than one camera: you can't trust your memory, so write down all its locations. With a permanent pen identify them with a number on the bottom of the camera body, as well as on the SD card: this way, organizing your photos will be a lot.
3. Write down the GPS coordinates of each camera
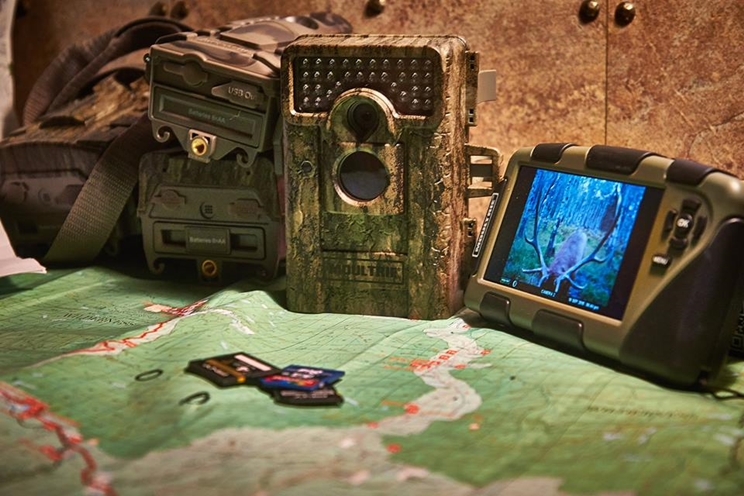
Use your smartphone and an app like Google Maps to know its coordinates. It will be of great help to locate them later if you are one of those who like to camouflage them thoroughly or take months to check the cards. The mountain can change a lot from station to station and we do not want you to lose a camera of more than 300 euros.
4. Orient it correctly
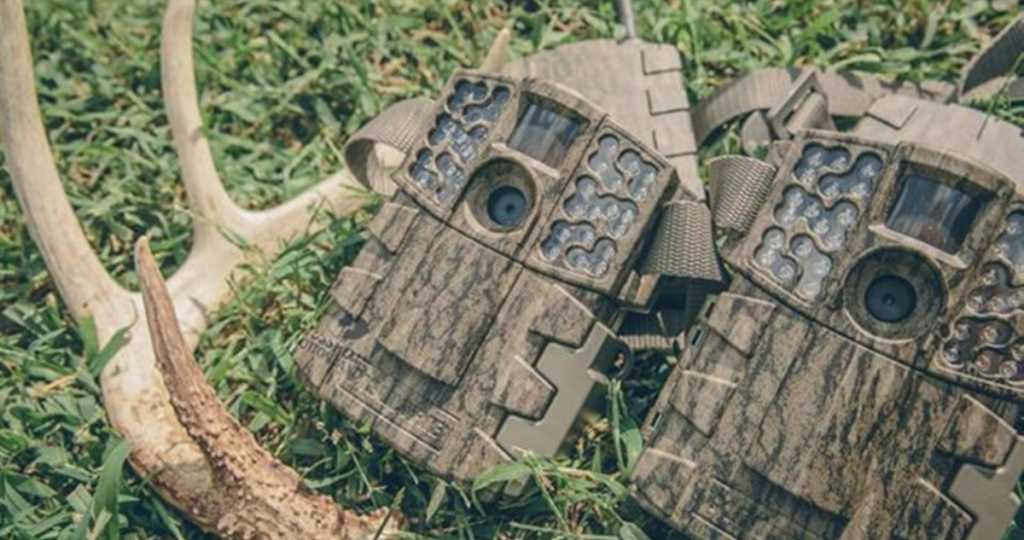
Before placing your cameras, get a compass. You will need it to orient them to the north or south in order to prevent the sun from hitting the target directly at dawn or dusk. In the winter months the path of the sun is much lower, so you can skip this rule.
5. Tilt it towards the passage of animals
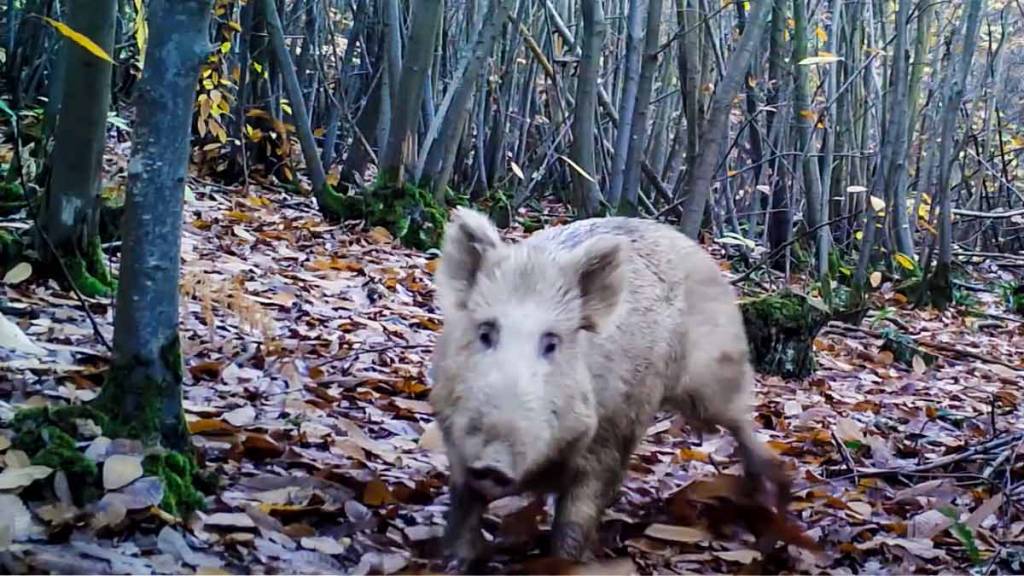
Doing so will give motion sensors a much larger field of action to activate and capture a photo. This way the animals will remain in their range for longer increasing the chances of obtaining much more complete images that will allow you to value them better.
6. Let nothing stand between the flash and the sensor
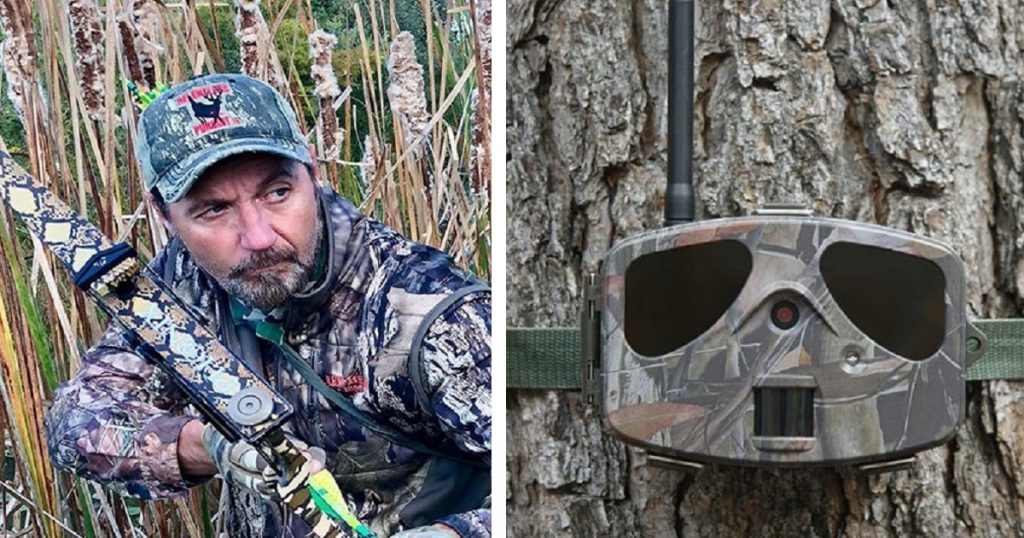
When the wind blows the movement of the vegetation could activate the trigger. To avoid this, you must make sure that the camera's sensors enjoy a field of action as clear as possible. An object or a branch placed in front of the flash will ruin your images, since not enough light will reach them and they will be underexposed.
7. Conceal it from the sight of thieves
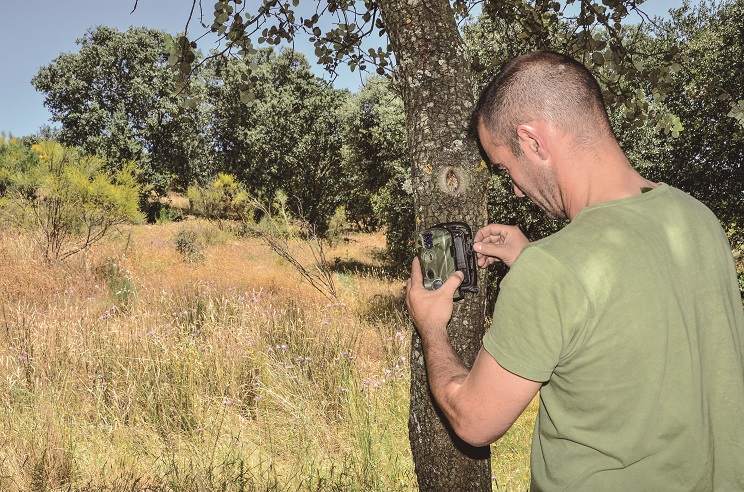
It doesn't matter what you do to protect your cameras, whether it's installing cables or steel housings with a padlock. Both systems can be sabotaged, and even the bouquets or trunks of the trees where they are installed can be cut. Therefore, you should avoid placing them in obvious locations such as a busy road or in front of a feeder. Do it in elevated positions, above the level of our eyes: it will be much more complicated for someone to discover them and, if they still do, it will not be easy for them to reach them.
8. Contact your insurance agent

Make a quick call to your insurer and ask about the coverages it offers for your hunting equipment, such as cameras, bows, stands and binoculars. For a small monthly outlay you can surely include them in your policy and cover possible thefts.
9. Place the cameras of your inactive posts

If you have several positions in your preserve, try placing a camera also in those that are inactive. You may discover a pig or roe deer in the area of which you did not know its existence. It is always a joy to discover the passage of new visitors.
10. Be patient!
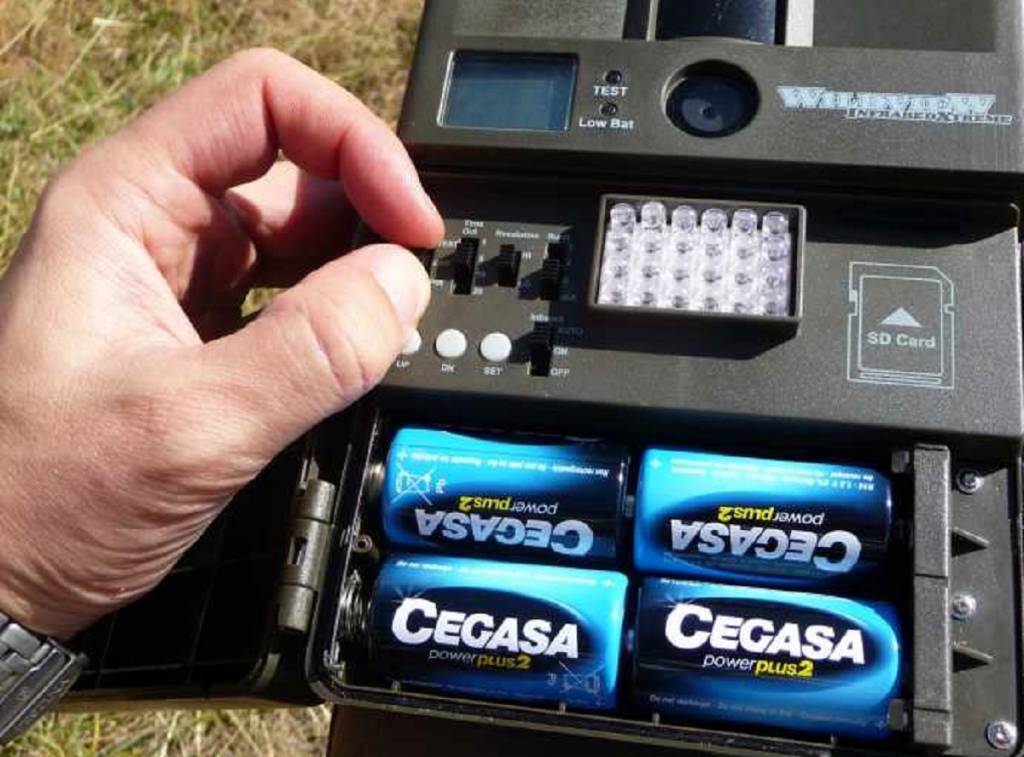
The thrill of installing your fleet of cameras can lead you to the mistake, very common on the other hand, of going out in search of results too often. An excess of visits can disturb the wild boar or roe deer that is photographed every night.
11. Take advantage of rainy days

The rain naturally eliminates any smell or hint of our presence in the field, but you should not trust yourself and pay close attention to the direction of the wind when you visit your cameras these days: the water will erase your trace, but you should always try to enter avoiding not loading the areas of encame with air.
12. Evolve into black light
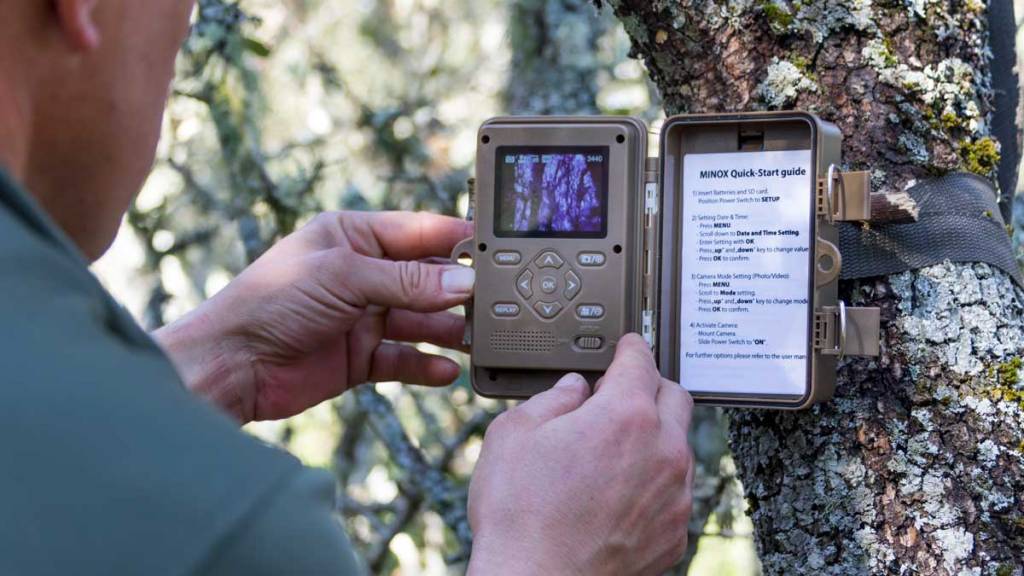
It is nothing but a flash without brightness. The traditional ones use a pulse of white light that can scare away the fauna; standard infrared cameras, a burst of red light to illuminate the target in the dark of night; a black light camera, an absolutely undetectable flash.
13. Choose last generation trail-cams
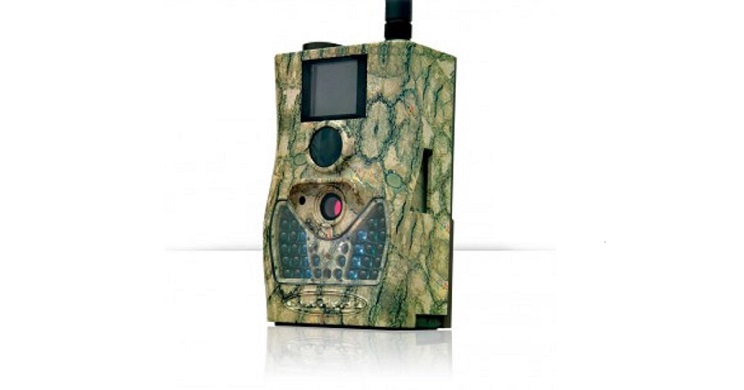
The most modern ones will save you many visits to the area to check that everything is correct, since they allow you to install a SIM card and configure them to send the images via e-mail or SMS. Thus, when an animal activates its sensors you will instantly receive the photograph or video and you can view it on your smartphone. Of course, for this you will have to make sure that the camera is installed in an area with mobile coverage.
The article 13 tips and tricks to get the most out of your camera appears first in Jara and Sedal Magazine.
